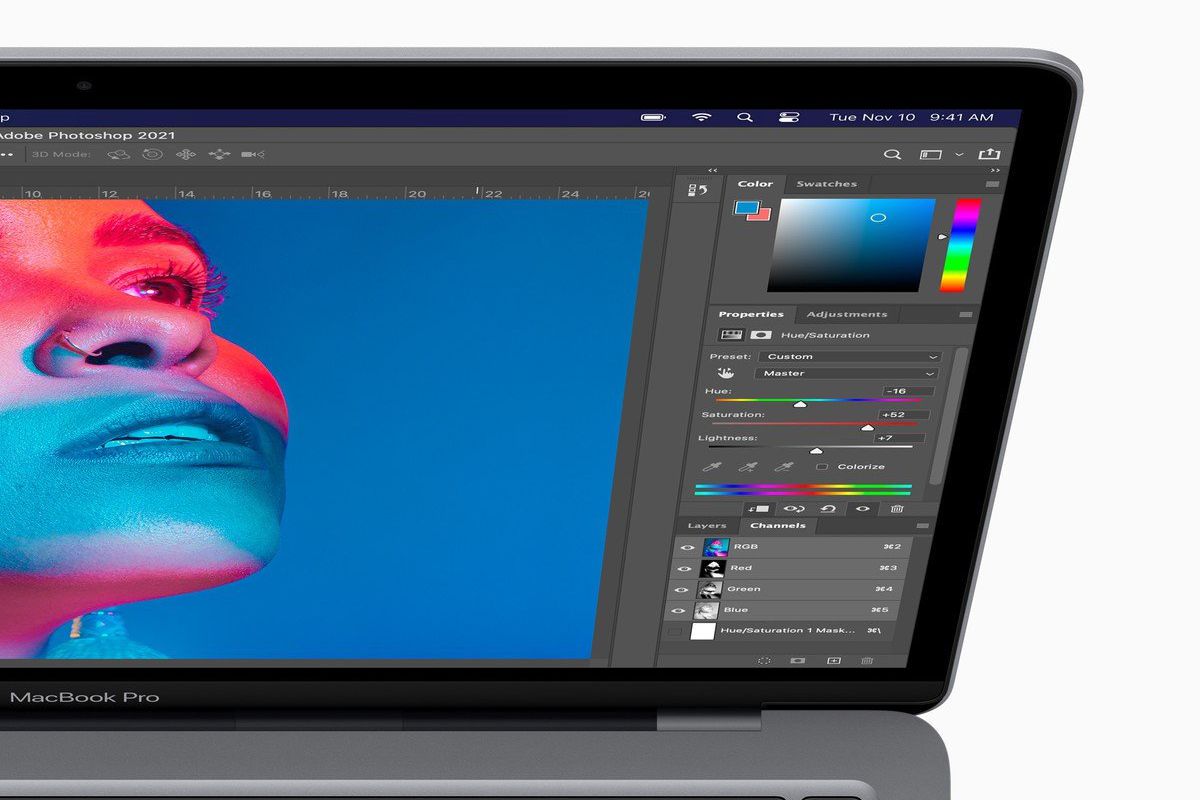
How to resize an image in Adobe Photoshop
In this tricks we will teach you with the trick to resize an image in Adobe Photoshop. Image re-sizing is done when its pixel information is changed. One thing you should note is the difference between image scaling and image resizing in Adobe Photoshop.
In scaling, the resolution is not adjusted to best suit the new size, rather the pixels are stretched and can appear pixelated, which is a common side effect of scaling, although in re-sizing that’s never an issue. (Resize an Image)
About Adobe Photoshop: (Resize an Image)
Adobe Photoshop is a raster graphics editor developed and published by Adobe Inc. for Windows and macOS. It was originally created in 1988 by Thomas and John Knoll. Since then, the software has become the industry standard not only in raster graphics editing, but in digital art as a whole.
The software’s name has thus become a generic trademark, leading to its usage as a verb (e.g. “to photoshop an image”, “photoshopping”, and “photoshop contest”) although Adobe discourages such use. Photoshop can edit and compose raster images in multiple layers and supports masks, alpha compositing and several color models including RGB, CMYK, CIELAB, spot color, and duotone.
Step by Step Guide to resize an image in Adobe Photoshop
Step 1:
Open your image in Adobe Photoshop
Step 2:
Go to ‘Image’, located at the top of the window.
Step 3:
Select ‘Image Size’
Step 4:
A new window will open
Step 5:
To maintain the proportions of your image, click the box next to ‘Constrain Proportions
Under ‘Document Size’:
* Select ‘inches’ for the unit of measurement.
* Check that the resolution is no lower than ‘200 pixels/inch’. However, ‘300 pixels/ inch’ is ideal for printing.
* Input the width and height you desire.
* If your original image has different proportions than your desired print size, it will be necessary to crop your image after re-sizing it.
* Click ‘OK’
* Save your file.
* If you want to keep your original file, select ‘Save As’ and name your image something different from the original.
| Also Read | Convert Colour Photo to Black and White |