


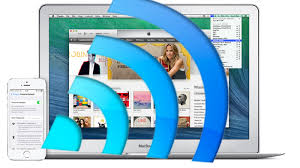
Mac users have it a lot easier to create wi-fi Hotspot.
Here's how to share your Mac's Internet connection.
Step 1
Open System Preferences > Sharing > check Internet Sharing on the left.
Step 2
On the right, expand the drop-down menu next to Share your connection from: and select the connection you want to share. You can share Internet connections from Ethernet, Wi-Fi, Bluetooth, or even iPhone USB.
Step 3
Typically, you'd want to select Ethernet, if you are using a wired Internet connection iMac, Mac Pro, or MacBook Pro. If you are using an external Ethernet adapter with a MacBook Air, you'll want to select USB Ethernet or Thunderbolt Ethernet, depending upon the kind of dongle you are using (usually it's USB).
Step 4
Just below that, there's a box next to To computers using: where you should check the box next to Wi-Fi.
Step 5
Click the Wi-Fi Options button below the box. Pick a Network Name, Security Type and enter the password twice in fields named Password and Verify. We strongly recommend you choose a password, instead of leaving the Security option has None. You can leave Channel as the default value unless you know what you are doing. Click OK.
If the connection is active, you'll see a green icon and text Internet Sharing: On under System Preferences.
Hope this may help you a lot. If you think this was helpful to you please donot hesitate to like and write your comment.


It’s awesome designed for me to have a website, which is beneficial in favor
of my know-how. thanks admin
You are most welcome.